Download your FREE ebook!

Healthy Vegan & Gluten-Free Pop Tarts 3 ways!
Jump To Recipe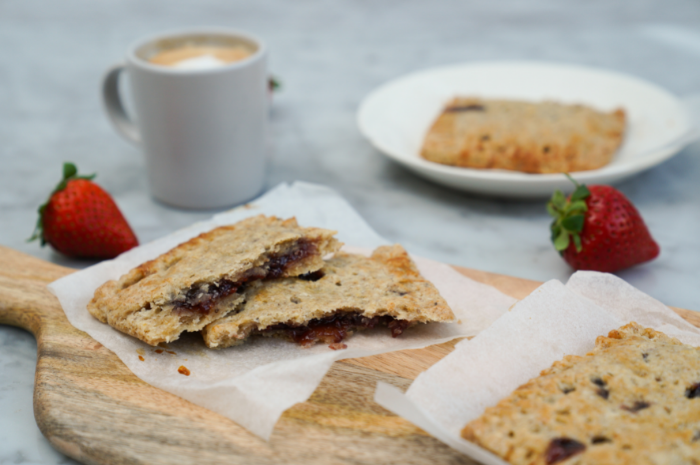
I’ve been having these delicious healthy pop-tarts for breakfast almost every day! And once you’ve tried them I’m sure you will do the same.
Conventional pop tarts are not a breakfast food…actually I wouldn’t even call them food considering all the unhealthy ingredients, additives, preservatives, and colors used to make them! But these wholesome dairy-free and gluten-free pop tarts are so healthy you can have them any time of day. And oh how wonderful they taste with coffee.

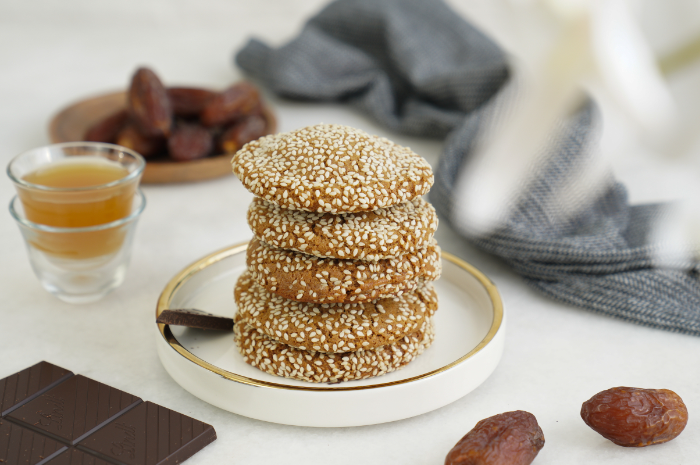
The crust is very similar to the one used to make this healthy mamoul. It’s so flaky and tastes almost buttery despite using coconut oil. I must admit that the process is a little lengthy and needs some love and care, but the result is definitely worth it. Although the joy of baking is only complete when shared, my advice with these beauties is to keep them for yourself, especially since they are best when baked from frozen and served fresh and warm.

Here’s what I do…I make a batch and freeze them on a tray then store them in an air-tight container. On the morning when I plan to enjoy a pop tart, I pop it (hahaha see what I did there?) into an air-fryer (a bit on that later) and by the time my coffee is ready I have a fresh, warm, crispy pop tart to enjoy with it. You see the recipe only makes 6 (7 if you have extra dough), and takes some time and effort, so you might as well keep it for yourself. However, since it’s in the freezer, and if you have someone really really really special visit unexpectedly, then you can bake one (yes just one) and WOW them with your culinary expertise.
Okay, you have three options for the filling, but the jam is definitely my favorite. Just make sure you use an all-fruit jam, I usually go for raspberry, but any jam will taste amazing.
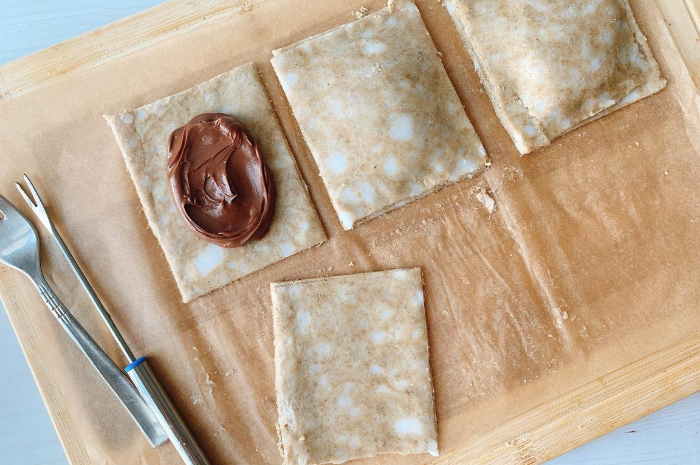
The healthy Nutella is a good option for kids, but for some reason, it came out a bit dry, but a little melted chocolate drizzled on top fixes everything (yes even a broken heart)

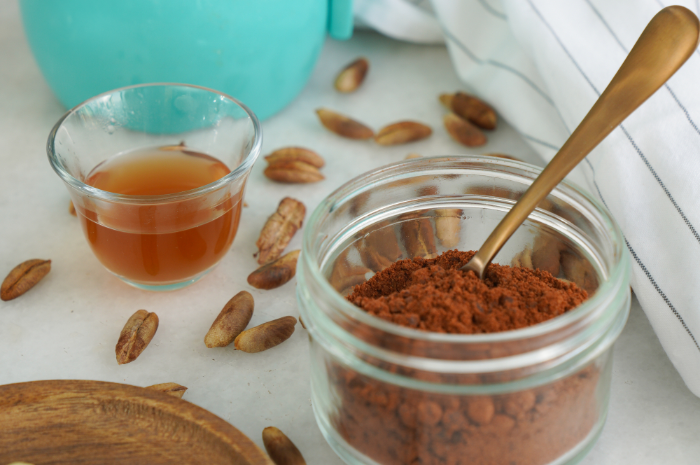
The tahini caramel is also a great option, it has a salty-sweet taste, and will be delicious served with some Arabic coffee.
But if you’re gonna go with 1 flavor, definitely go for the jam! It’s the best by far.
It’s very important to keep the dough cold in all stages, you want the chunks of solid coconut oil to stay solid. It’s important for the coconut oil to melt while baking, as that, helps create the flaky texture that makes these tarts crispy and so satisfying.
After rolling out the first half of dough and dividing, place it back in the fridge or freezer while you roll out the second half. And once the tarts are shaped, freeze them and bake them straight out of the freezer.
You can certainly use an oven, but since I’m usually baking just one, I like to use the air-fryer, which makes it more crispy and finishes faster. The instructions below are for an oven but for an air-fryer place the pop-tart straight onto the basket at 165C for 10-12minutes until golden.
A few last points…
I explain how to make the chia egg here…otherwise, mix 1 tablespoon finely ground chia seeds with 1 tablespoon of water and set aside until it turns into a gel.
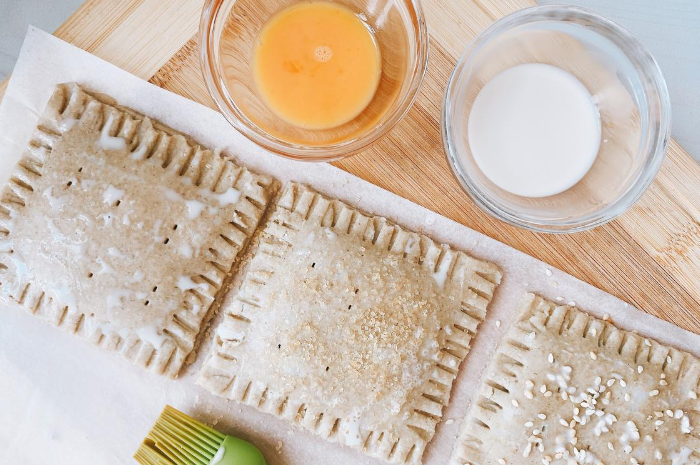
To keep the recipe vegan stick with the dairy-free milk to brush the dough before baking. I like to use beaten egg as I feel it gives a better color, but in terms of taste, there is absolutely no difference.
As usual, if you have any questions feel free to reach out!
Healthy Vegan & Gluten-Free Pop Tarts 3 ways!
Gluten-free Vegan Pastry Dough
Ingredients:
* 3/4 cup (70g) GF oat flour
* 1/4 cup (40g) millet flour or buckwheat flour
* 1/4 cup (30g) arrowroot or cornstarch
* 2 tablespoons ( g) chia egg (cold)
* 1/2 teaspoon fine sea salt
* Full 1/2 cup (115 grams) coconut oil, cold and in chunks
* 2 tablespoons (30ml) maple syrup
* 1-2 tablespoons ice water (add ice cubes to water then measure out as needed)
* 1 teaspoon apple cider vinegar or lemon juice
* Dairy-free milk or beaten egg
Filling Options:
* All-Fruit Jam
* Homemade Nutella or store bought dairy-free hazelnut chocolate spread
* Tahini Date Caramel
Tahini Caramel:
* 1/4 cup (60g) date paste or soft dates
* 2 tablespoons tahini
* 1/2-1 tablespoon maple syrup
* 1 tablespoon coconut oil
* 1/8 teaspoon salt
* 1 tablespoon water as needed
Decoration:
Sprinkled sugar for jam tarts + PB drizzle
Dark chocolate melted for Nutella tart
Dusted cinnamon + icing sugar for date tarts
Instructions:
1. Place the oat flour, millet or buckwheat flour, arrowroot and salt in a food processor. Pulse a few times to combine.
2. Chop the coconut oil into chunks if it’s not already chopped, and add it to the processor. Pulse about 10 times until the coconut oil is broken into small pieces no bigger than the size of peas.
3. Now add the chia gel, maple syrup and just 1 tablespoon of ice water and pulse just a few times until the mixture comes together (when you pinch it with your hand it will hold it’s shape). If needed add a little more water.
4. Transfer the mixture to a bowl and quickly bring it together, divide into 2 equal portions. Wrap each half in plastic wrap, shaping into a rectangle, and store in the fridge for about 30-40 minutes. If it’s in the fridge for longer you may need to leave it out for 5 minutes before rolling. This dough can be made ahead and kept in the fridge for 3 days before rolling out.
5. If you’re going to use the tahini caramel then make it while the dough is in the fridge. Soak the dates in a little hot water to soften (or use date paste). Then drain and place in a food processor with the rest of the ingredients except the water. Blend until smooth, adding some water to achieve a caramel consistency.
6. Take one half of dough out of the fridge and place onto a sheet of parchment paper, and top with the plastic wrap it was wrapped in. Roll the dough into a rectangle as best you can, 24cm x 18cm, and less than 0.5cm thick, trimming the edges if needed. With the longer side facing you, cut the dough in half horizontally, and then into thirds vertically. You will now have 6 squares, about 8cm each. Transfer the dough back to the fridge to keep it cold, and repeat the same process with the second half of dough.
7. Now that you have 12 squares, add about a tablespoon of your chosen filling on 6 of the squares, spreading them out to 1 cm from the edge. Then top with the rest of the squares to seal in the filling, pressing around the edges with a small fork. Then poke a few small holes on the top for steam to escape later when baking.
8. Place the tarts on a parchment lined tray and into the freezer. Once they are completely frozen, transfer to an airtight container.
9. At this point you can refrigerate the pop tarts wrapped in plastic or parchment paper to bake fresh in the next 3 days, or freeze for a month.
10. When you are ready to bake the tarts, make sure to pre-heat the oven to 350F or 160C. Line a baking sheet with parchment paper and place the tarts on top. Brush the top with milk or egg then sprinkle with the sugar or your choice of topping. Bake for about 15 minutes until golden. Let cool on a wire rack. If you eat them too soon they will crumble. As they cool the dough will firm up to a lovely flaky texture. But don’t wait too long.
11. Store in an airtight container for 3 days (see note below).
Notes:
It’s best to bake what you plan to consume that day and keep the rest in the fridge or freezer. The tarts are more crispy when enjoyed on the same day.

Leave A Comment